Website Personalization
Website Personalization
Squeezely Website Personalization gives you a wide variety of options to target personalized website content to your Squeezely Audiences. There are three options when building a personalization:
- Website Overlay
- Website Embedded
- Mailjet - Read more about this subtype here
In this guide we will explain how to setup both options for your website.
Website Overlays
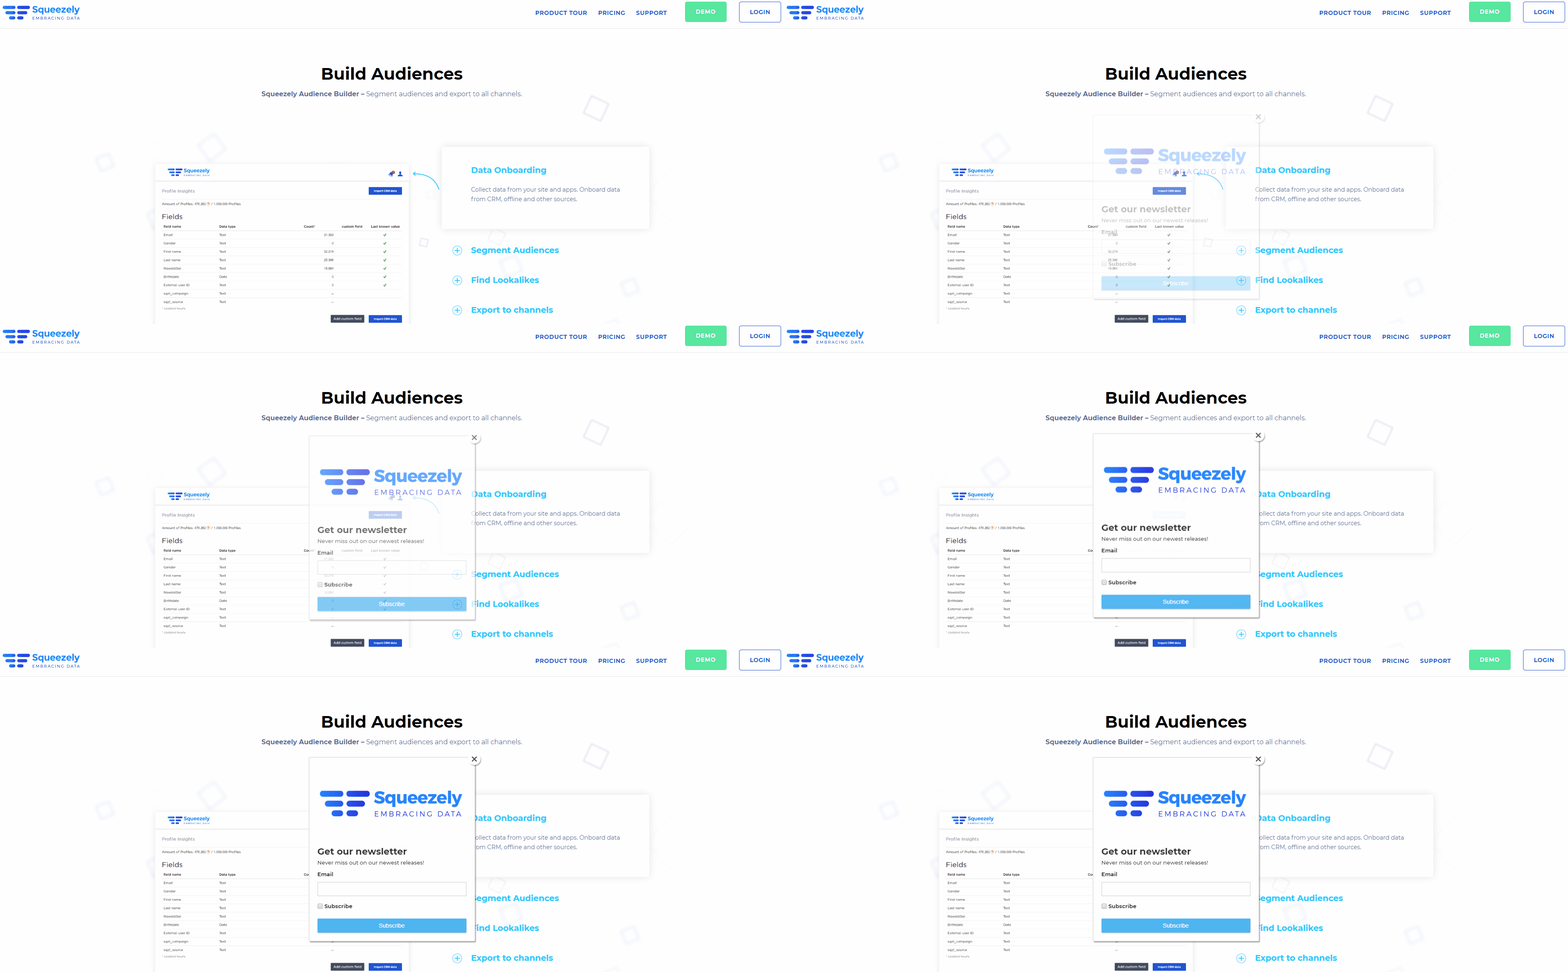
Overlays are a handy tool to communicate with your website visitors. They can appear on top of your regular website content to communicate promotions or messages that you want to target to specific groups of visitors. Overlays can also be used as forms to collect data from your website visitors, like you can see in our example below.
Website Embedded
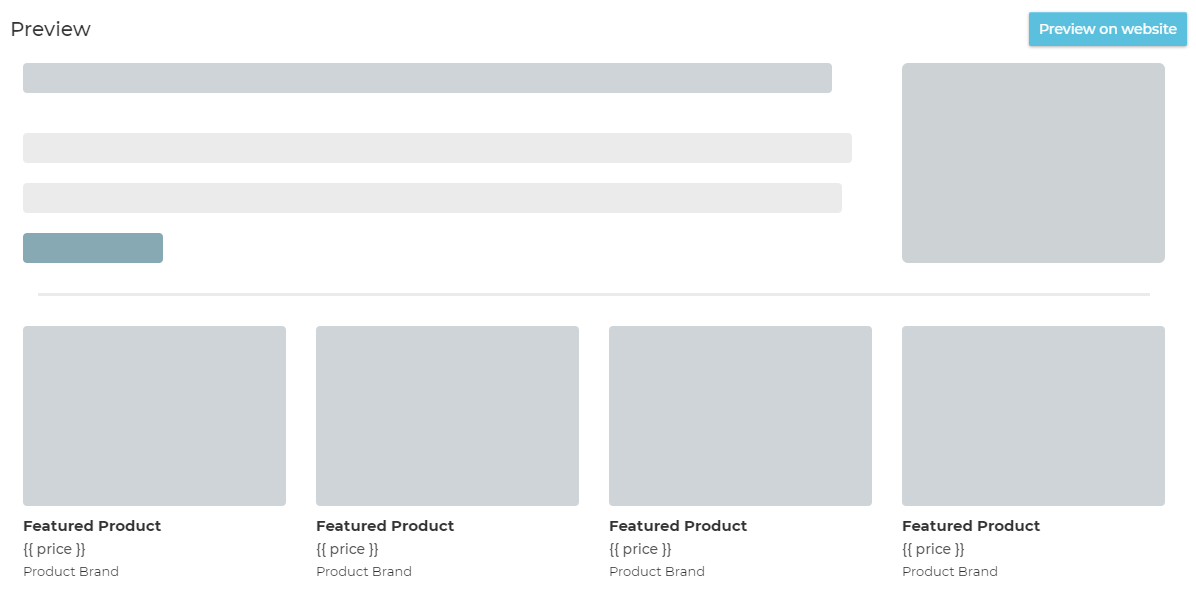
Using Website Embedded Personalizations you are able to change elements of your website for specific audiences. For example you can show product from a product set to a certain group of visitors on a page.
Personalization Menu
You can access personalizations after login in to Squeezely Platform under Data > Personalizations. This will give you access to the menu below, where you will find the following options:
- New Personalization - Use this to setup a new personalization.
- Status - This indicates if your peronalization is Live, Paused or Under Construction.
- Priority - It's possible to change the priority of your Personalizations by dragging & dropping them on the list. The personalization ranked to the top of the list will be evaluated first and is shown to the user in case there would be another personalization targeted on the same user.

Choosing your Personalization Type
First, select the personalization type you want to use from the below menu:

Setting up your Personalization
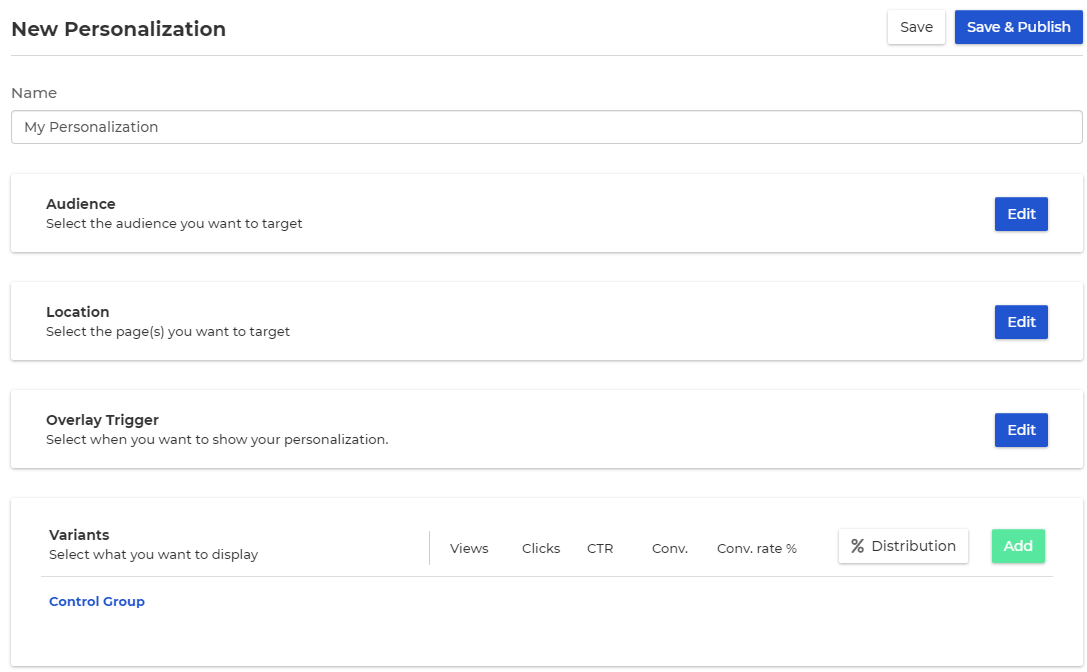
Select 'New Personalization' to start building your Personalization. You will have to setup an Audience, Location, Overlay Trigger and some Variants to finish building your Personalization. All steps are explained in the image below.
Step1: Audience
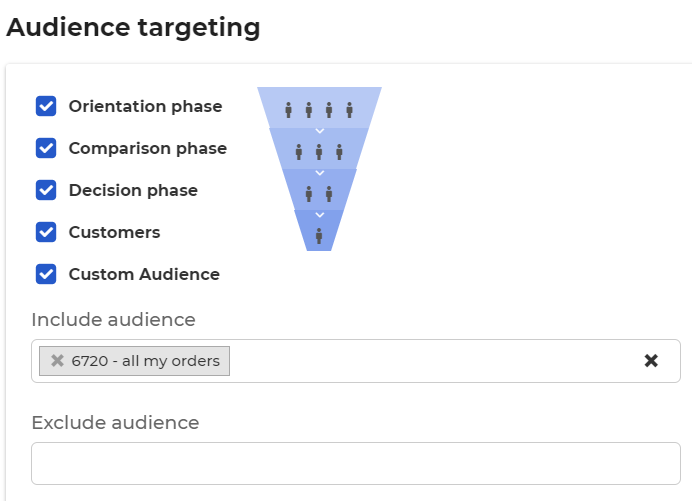
Your audience targeting determines who will be shown your personalization. You are able to select from our 4 customer phases (read more about Customer Phases in Intelligent Audiences) or a combination of your own custom audiences. Select all the customer phases to target all website visitors.
For custom audience combinations you can select who should be included in your personalization, as well as who should be excluded.
Step 2: Location
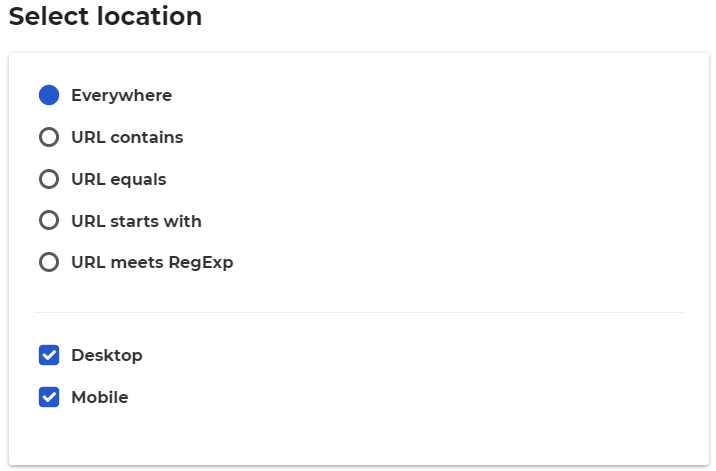
Equally important is to determine where your personalization will be shown on your website. The options are:
- Everywhere - Your personalization will show on each page of your website.
- URL contains - Your personalization will show on each page that contains the input in the text box.
- URL equals - Your personalization will show on each page that exactly matches your input.
- URL starts with - Your personalization will show on each page where your url starts with your input.
- URL meets RegExp - Your personalization will show only if one of the conditions in your Regular Expression has been met.
Step 3: Overlay Trigger
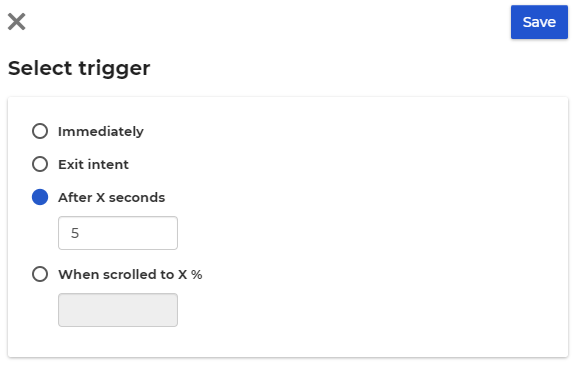
For overlays you can determine when they should be triggered.
- Immediately - Your overlay will be shown immediately.
- Exit Intent - Your overlay will be shown when a visitor is about to leave your website.
- After X seconds - Your overlay will be shown after X Seconds.
- When scrolled to X % - Your overlay will be shown after a user has scrolled down on the page by a certain percentage.
Step 4: Variants - Overlay
If you are creating a Website Overlay, you will be able to choose from 5 different variants.
- Overlay - This is an overlay that can contain some text, an image and a Call to Action button.
- Toaster - A small overlay containing a title and some text
- Feedback Form - An overlay containing input fields to gather information from your visitors..
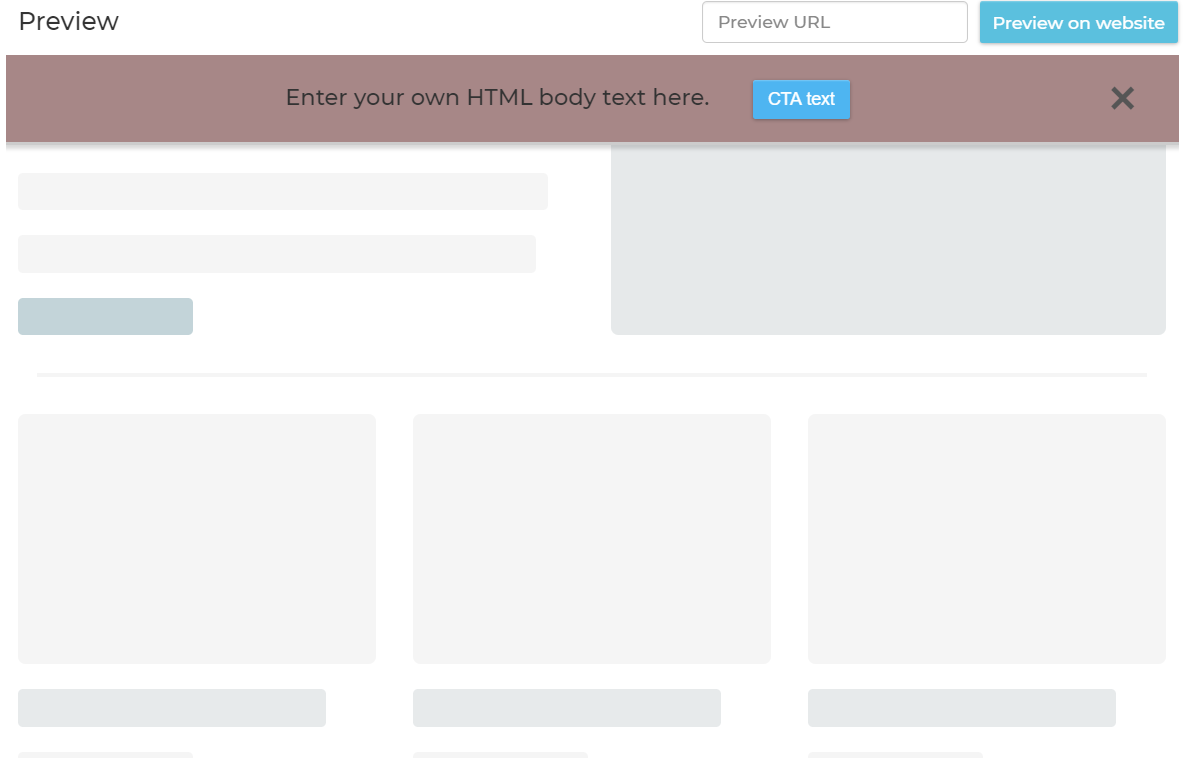
- Notification Bar - An overlay that uses the full screen with to show notifications.
- Custom - Custom overlays enable you to code your own.

Overlay
Design your overlay by using a title, image, description and a call to action. In below example you can see how we have created an overlay for a shoe promotion.

Toaster
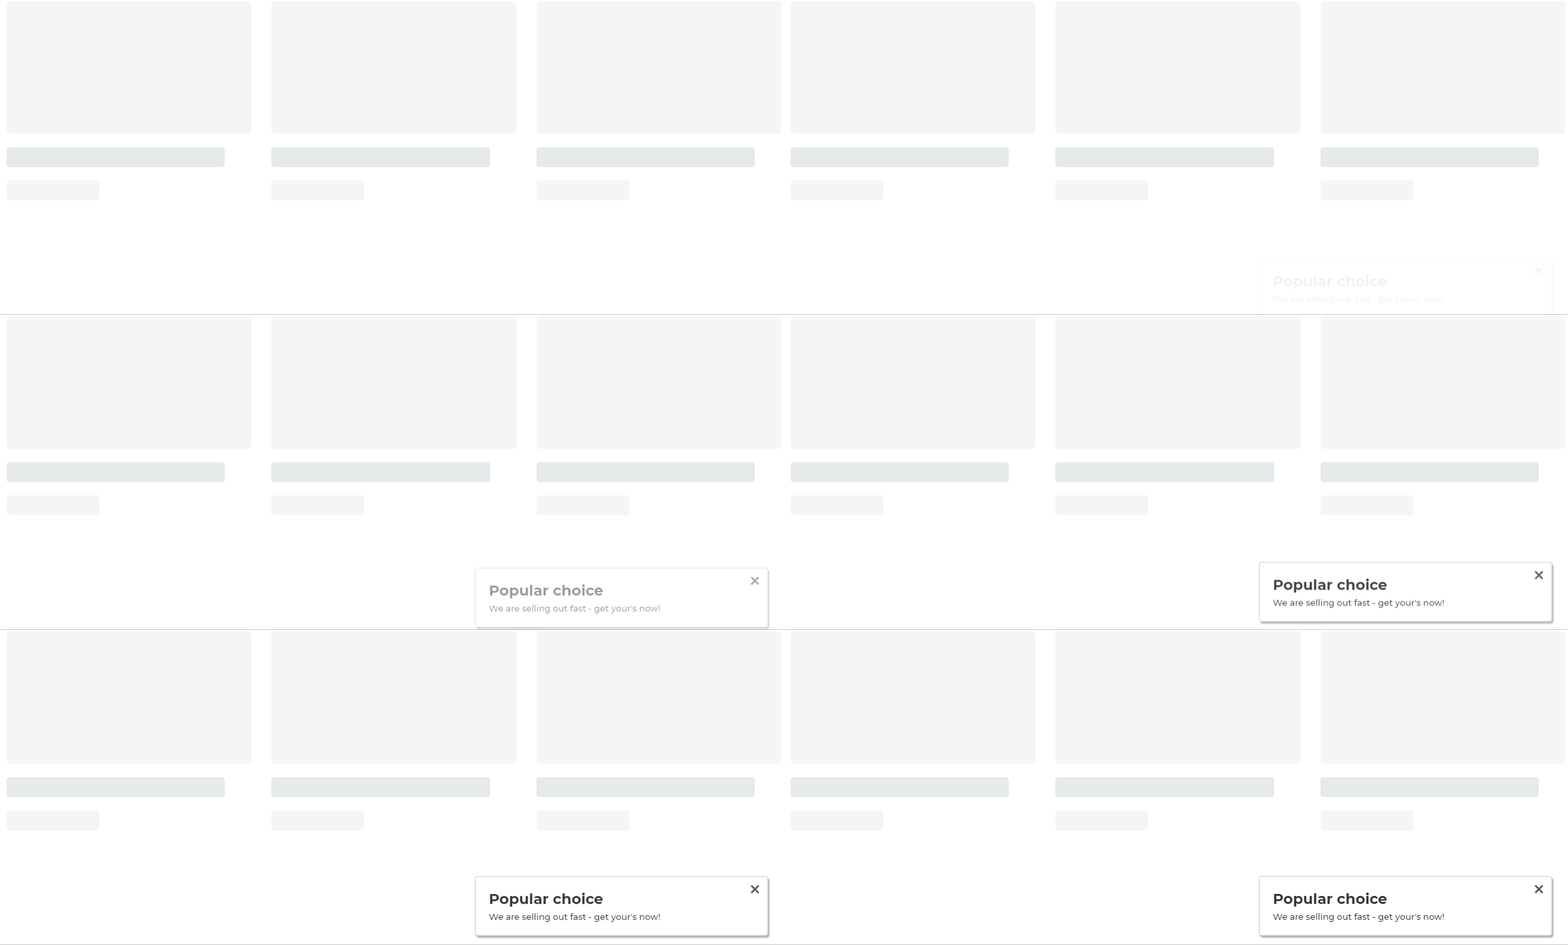
The smaller version of the regular overlay is called the toaster. An example below shows you what it looks like. You are able to put in a Title and a description text.
Feedback form
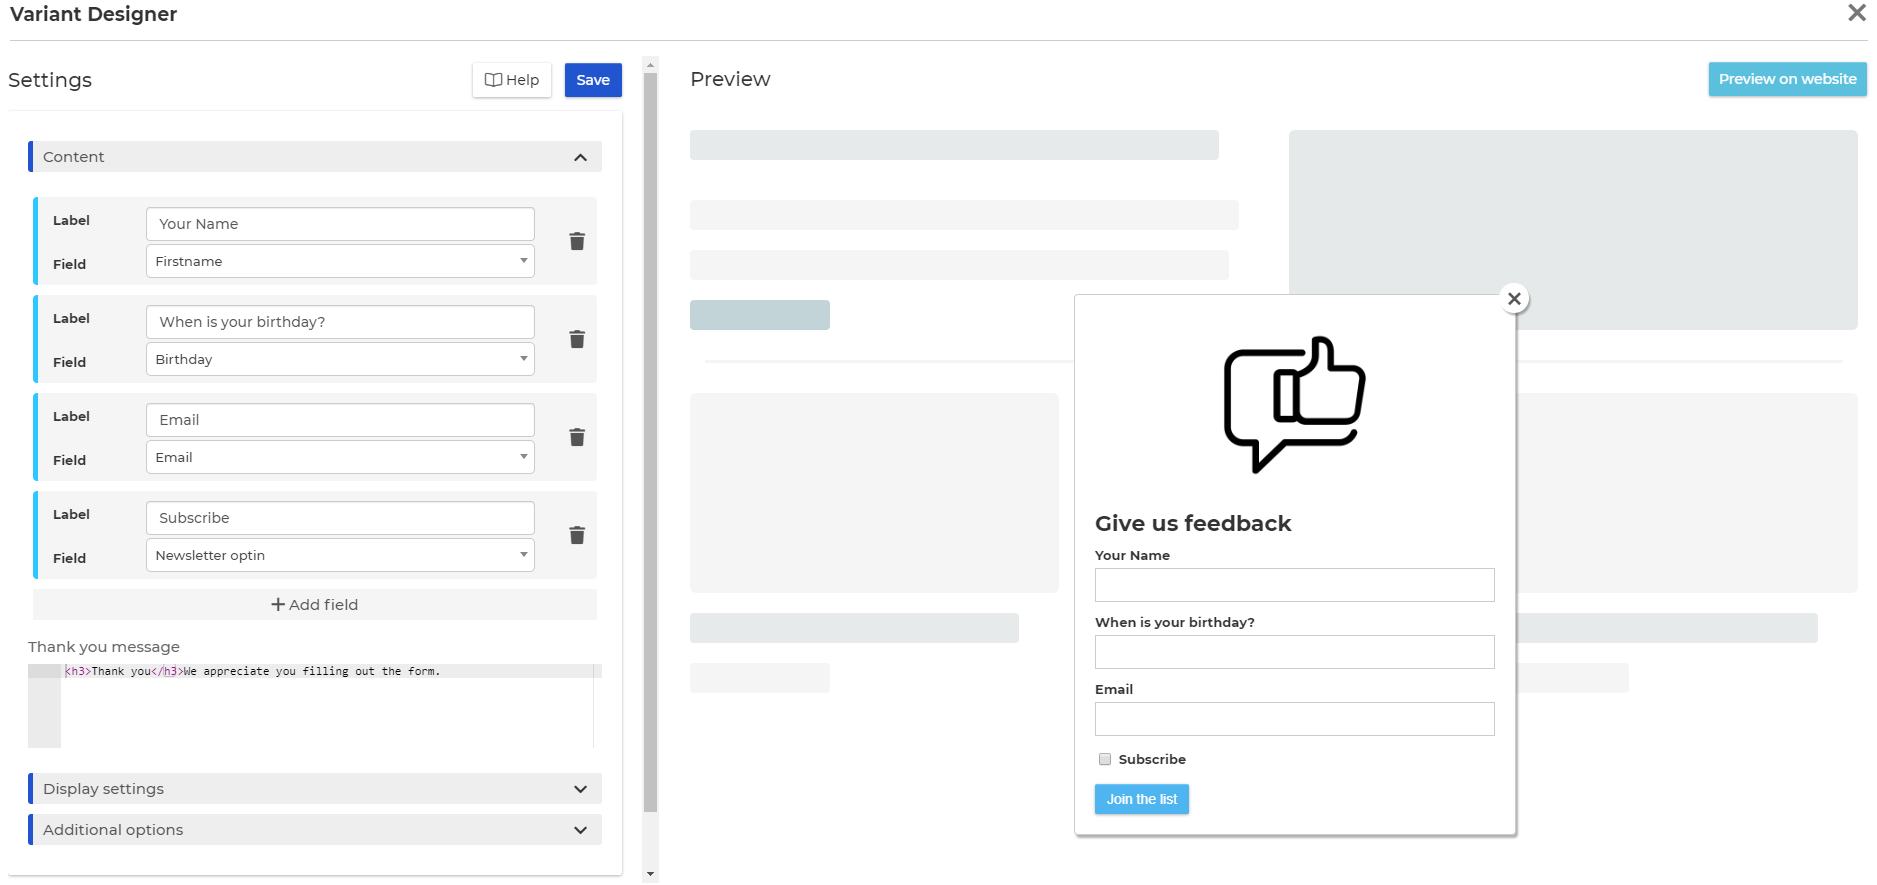
The feedback form will help you to gather information from your visitors. Under 'content' you will be able to add fields to the form. Any value that a visitor will put into the field will be saved into their Squeezely Profile.
Notification Bar
Setup a notification bar to draw attention to an anouncement.
Step 4a: Variants - HTML Inserts
HTML inserts can be used to insert HTML in your webpage.
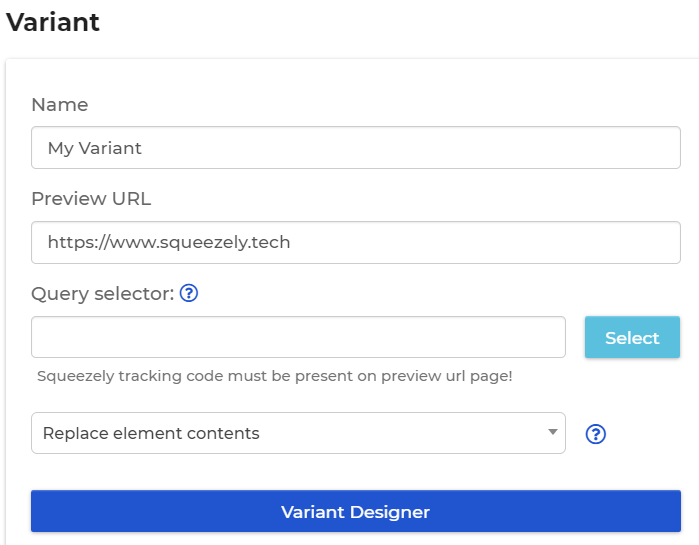
Step 1: Enter a name for your variant
Step 2: Enter a preview URL. The preview URL will be the page where your changes are made. Make sure you add https:// to your URL first.
Step 3: Under Query selector, you will be able to select the element on your page that will be replaced. Use the select button to load your page and select any element on the page.
Step 4: Select one of the options in the drop down. You can choose to replace the entire element or just the content within the element. Also you are able to place the content right before or after the element of your choice.
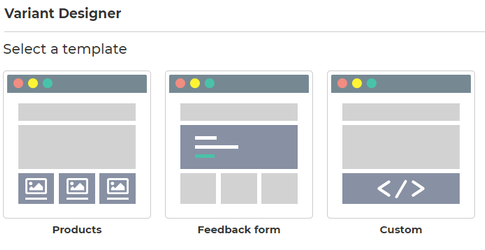
Click on 'Variant Designer' to open the below menu. You will have three options: Products, Feedback form and custom.
HTML Insert - Products
Using the products insert, you will be able to add products from a product set to your website. The product set will determine which products to show. Use Product Amount to specify how many products should be shown on the website.
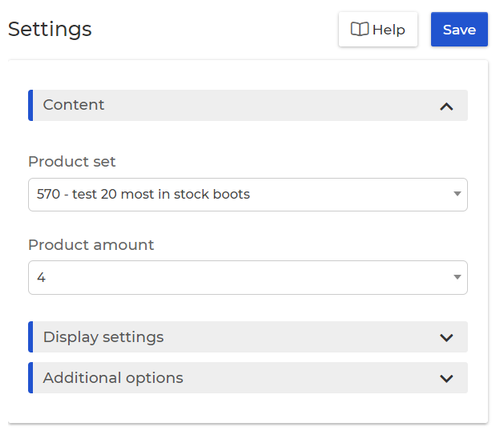
Under Display Settings you will be able to setup the format of your HTML insert. You can determine what should be shown in each field. It's possible to use variable info from your product feed items in your template. Access the templating guide using the Help button as shown in example below.
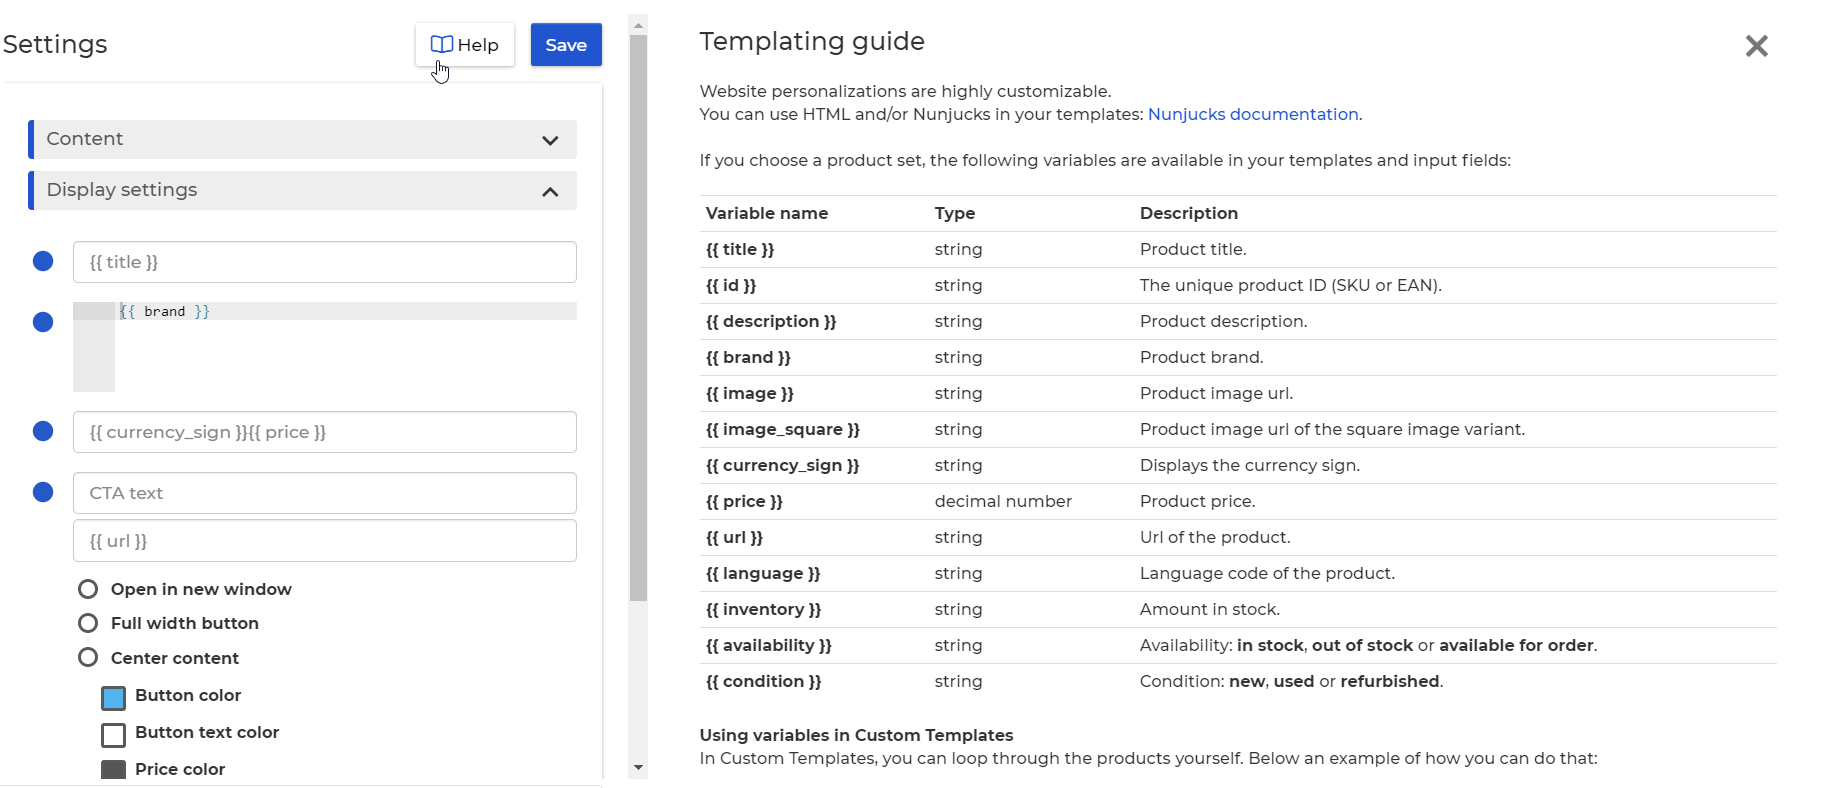
When the help modal is closed, you will be able to see a preview of your HTML insert on the right side of your screen.

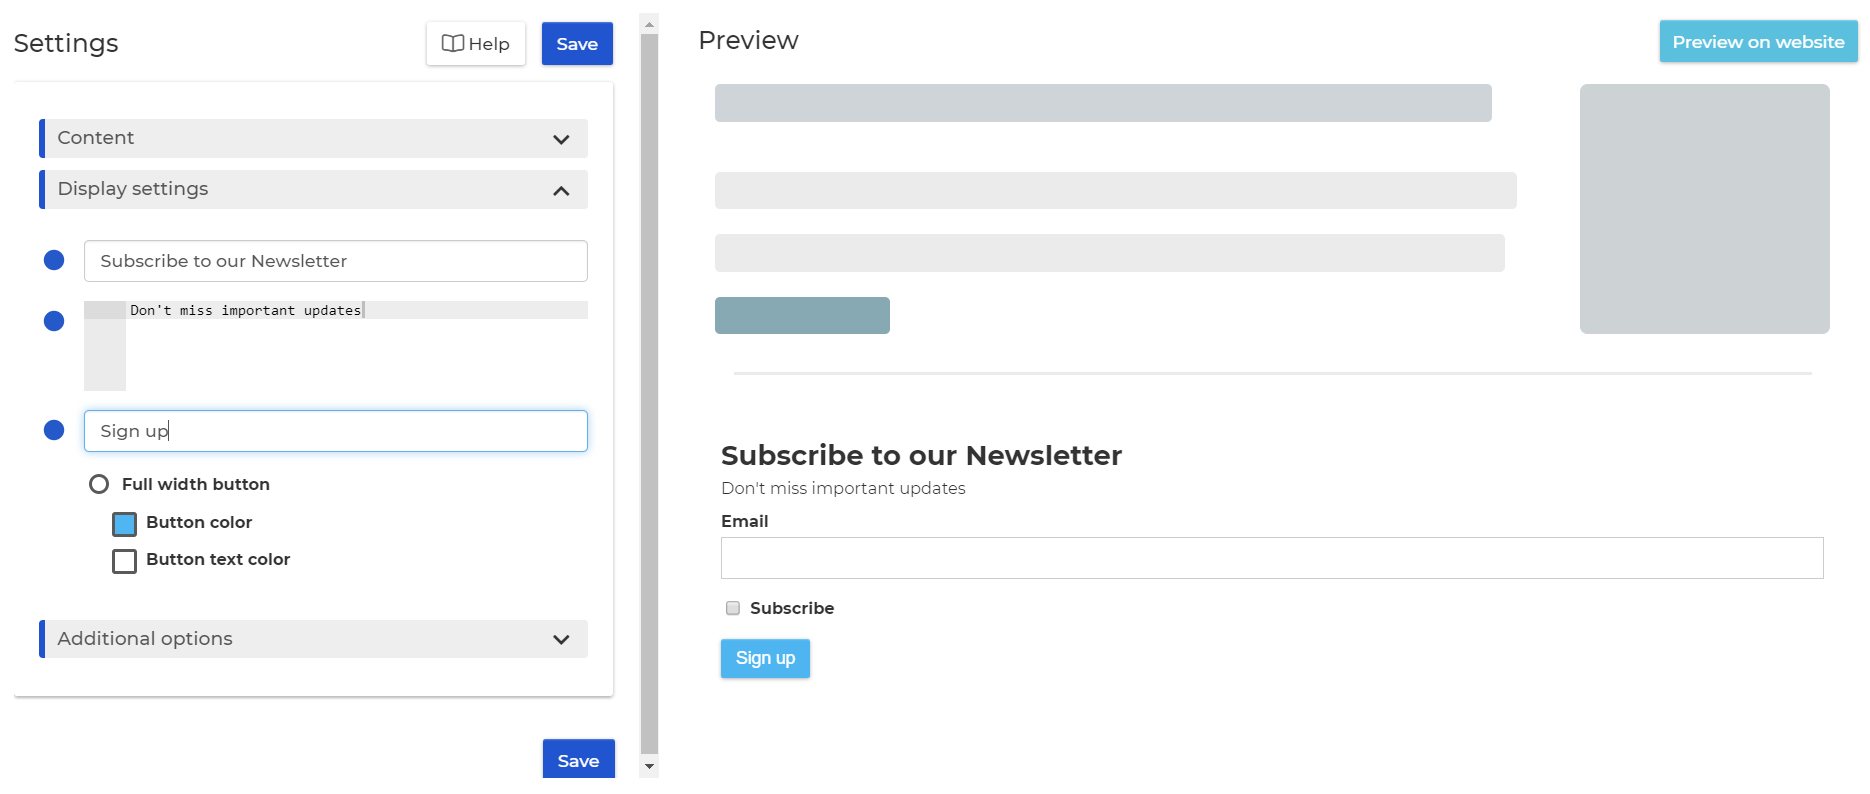
HTML Insert - Feedback form
Using HTML Inserts, you are also able to place feedback forms in your website content. For example you can ask people to subscribe to your newsletter easily by inserting a form.
Setting up experiments
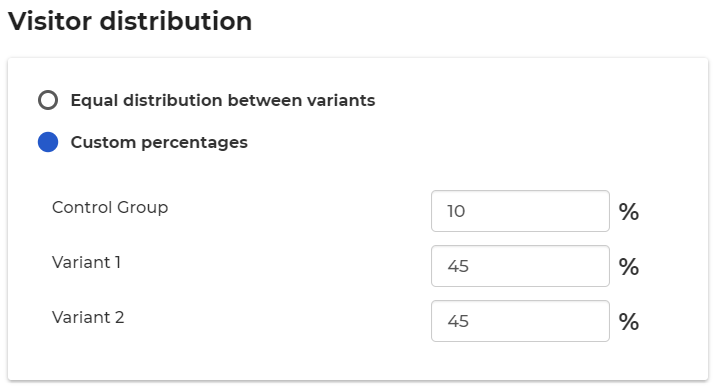
When you have created your variants, you will be able to setup experiments against a control group. The control group will be your original page, without any personalization.

Use the '% Distribution' button to setup how the personalizations should be distributed to your visitors.
Search
Navigate
Want to find info about a specific feature? Check out these topics below!