Connect your Mailjet account to Squeezely
This guide explains how to connect your Mailjet account to Squeezely.
What happens when I connect my Mailjet Account to Squeezely?
All Squeezely contacts will be imported into Mailjet after connecting, including their (custom) profile fields
New Squeezely contacts will be synced to Mailjet daily
Opt in & Opt out information will be synced from Mailjet in realtime.
You will be able to sync audiences from Squeezely to Mailjet Segments
You will be able to trigger Transactional Templates in Mailjet from Squeezely Journey Builder
Setting up the connection
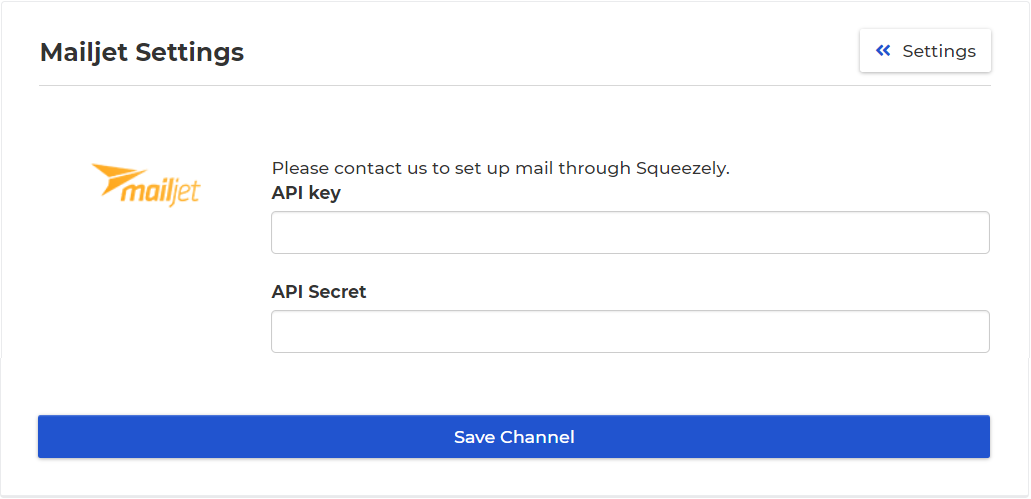
Log into Squeezely, go to Channel Settings and click on the Mailjet button, or click here to get started.
Get your API key & API Secret from your Mailjet account
Fill in your credentials
Press 'Save Channel'
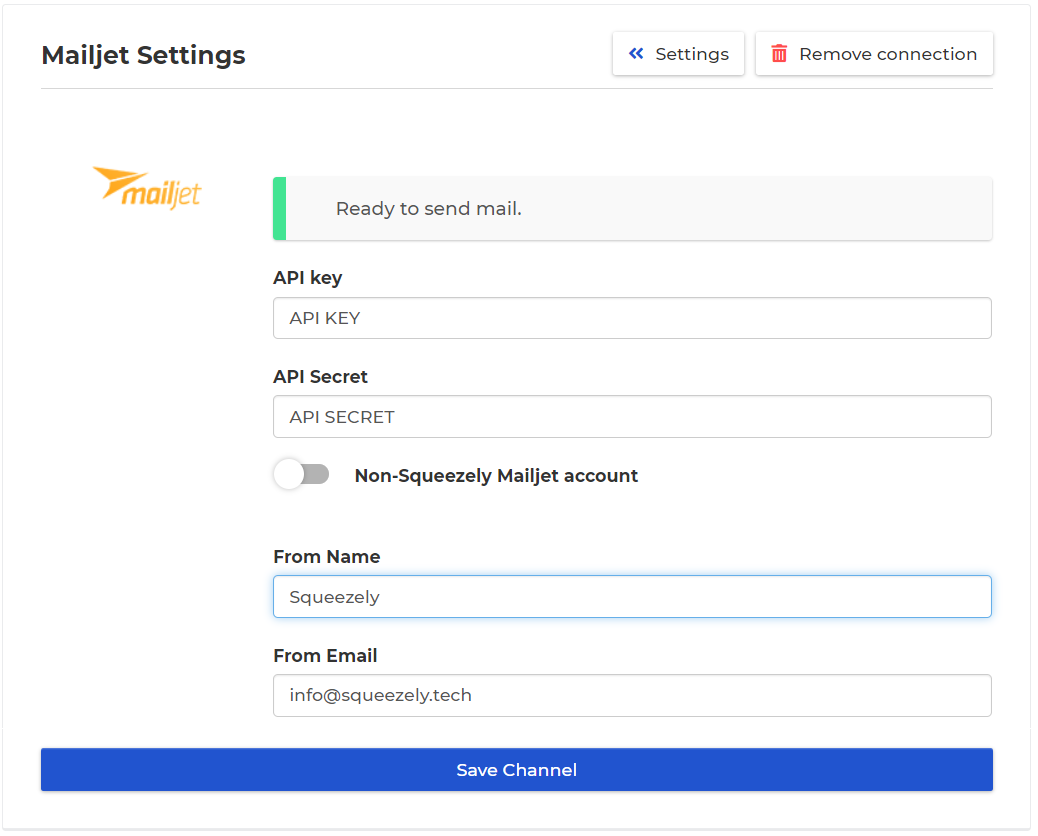
Setup your From name and From email address in the below screen.
Press ‘Save Channel’
You are all set!
Using Squeezely Audiences
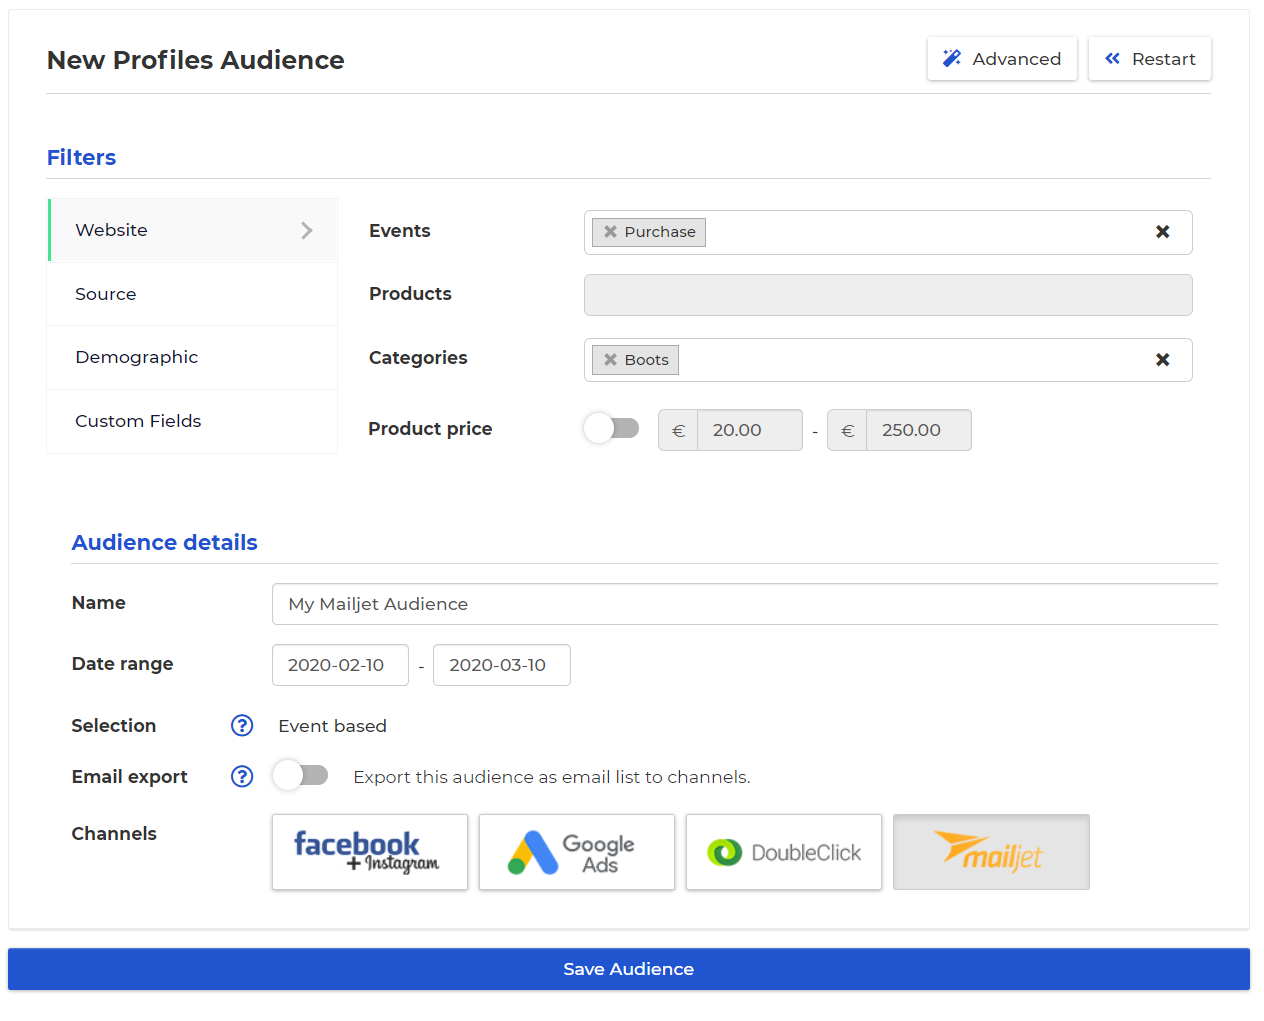
Any Squeezely Audience can simply be synchronized to Mailjet directly from audience builder. To do so, just select the 'Mailjet' button and press 'Save Audience'.
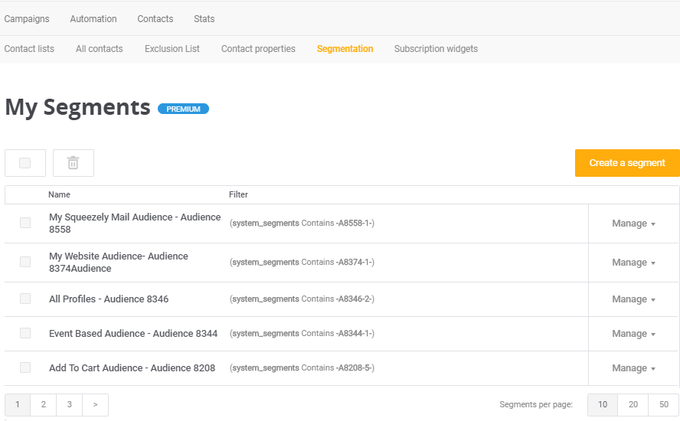
Once you export the audience to Mailjet, you will find it there under 'Contacts > Segmentation'.
Creating a campaign in Mailjet
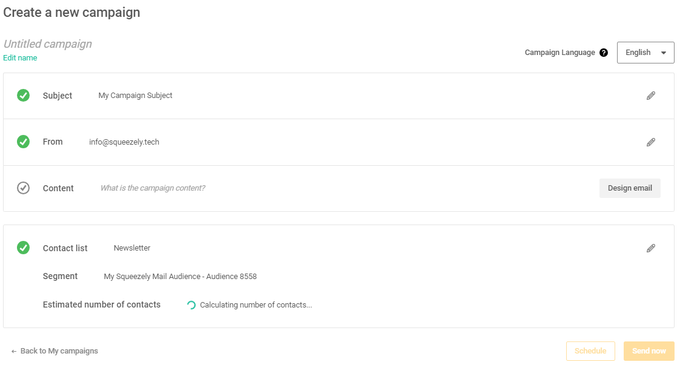
In Mailjet, under 'Campaigns > My Campaigns' find the button 'New Campaign' to start your campaign. A couple things to set up:
Subject - Your Campaign Subject
From - The from address used for your campaign
Content - Select the template for your campaign.
Contact List - First select your contact list. This can be either of your contact lists 'Newsletter', 'Service' or 'Marketing'. Selecting a contact list only will cause your campaign to be delivered to your entire list.
Segment - By selecting a segment, your campaign will only be sent to people that are in the segment you have selected and are also on your contact list. A segment represents a Squeezely Audience that you have synced from Squeezely Audience Builder to Mailjet.
Using Journey Builder
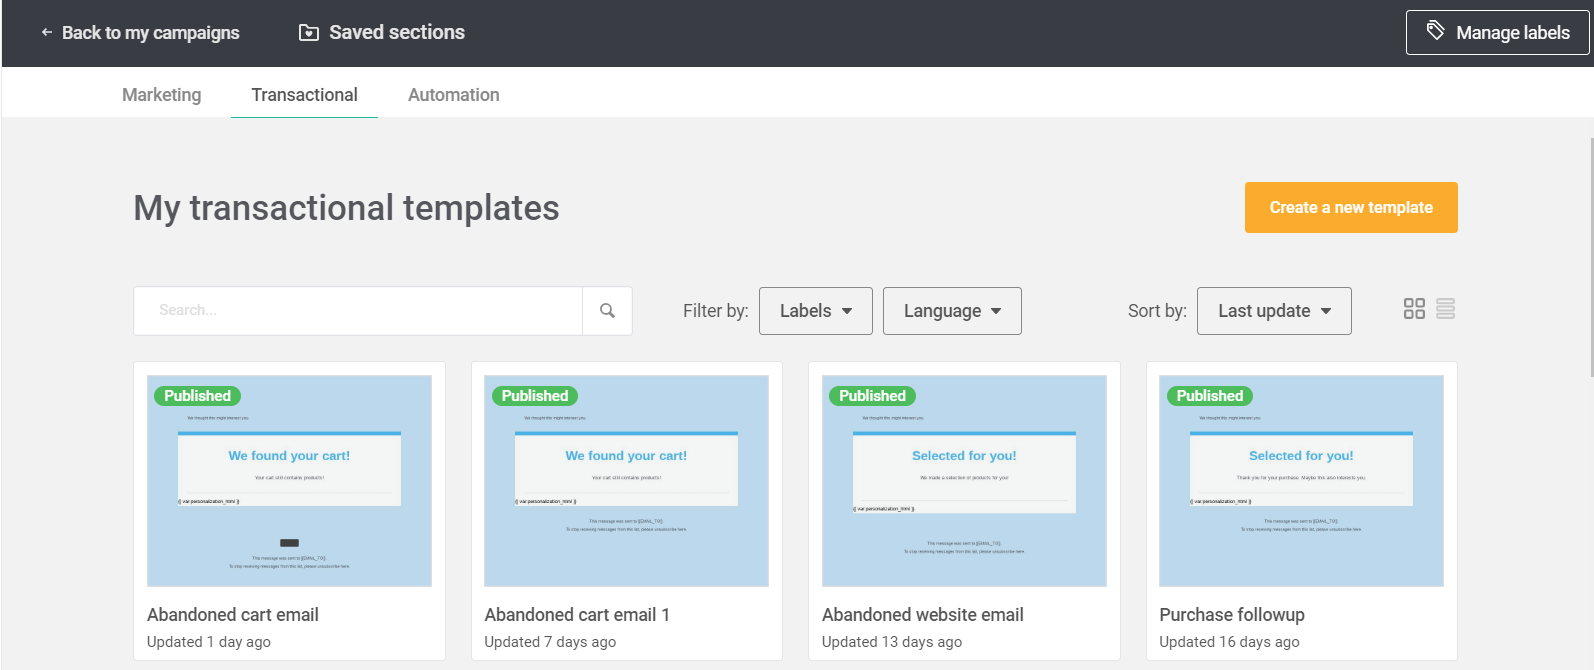
From Squeezely Journey Builder you can trigger any email template from your 'Transactional' folder in Mailjet. Find your 'Transactional' folder under 'Campaigns > Templates'. From within this view you are able to select the tab 'Transactional' and find the button 'Create new Template' to access the template editor.
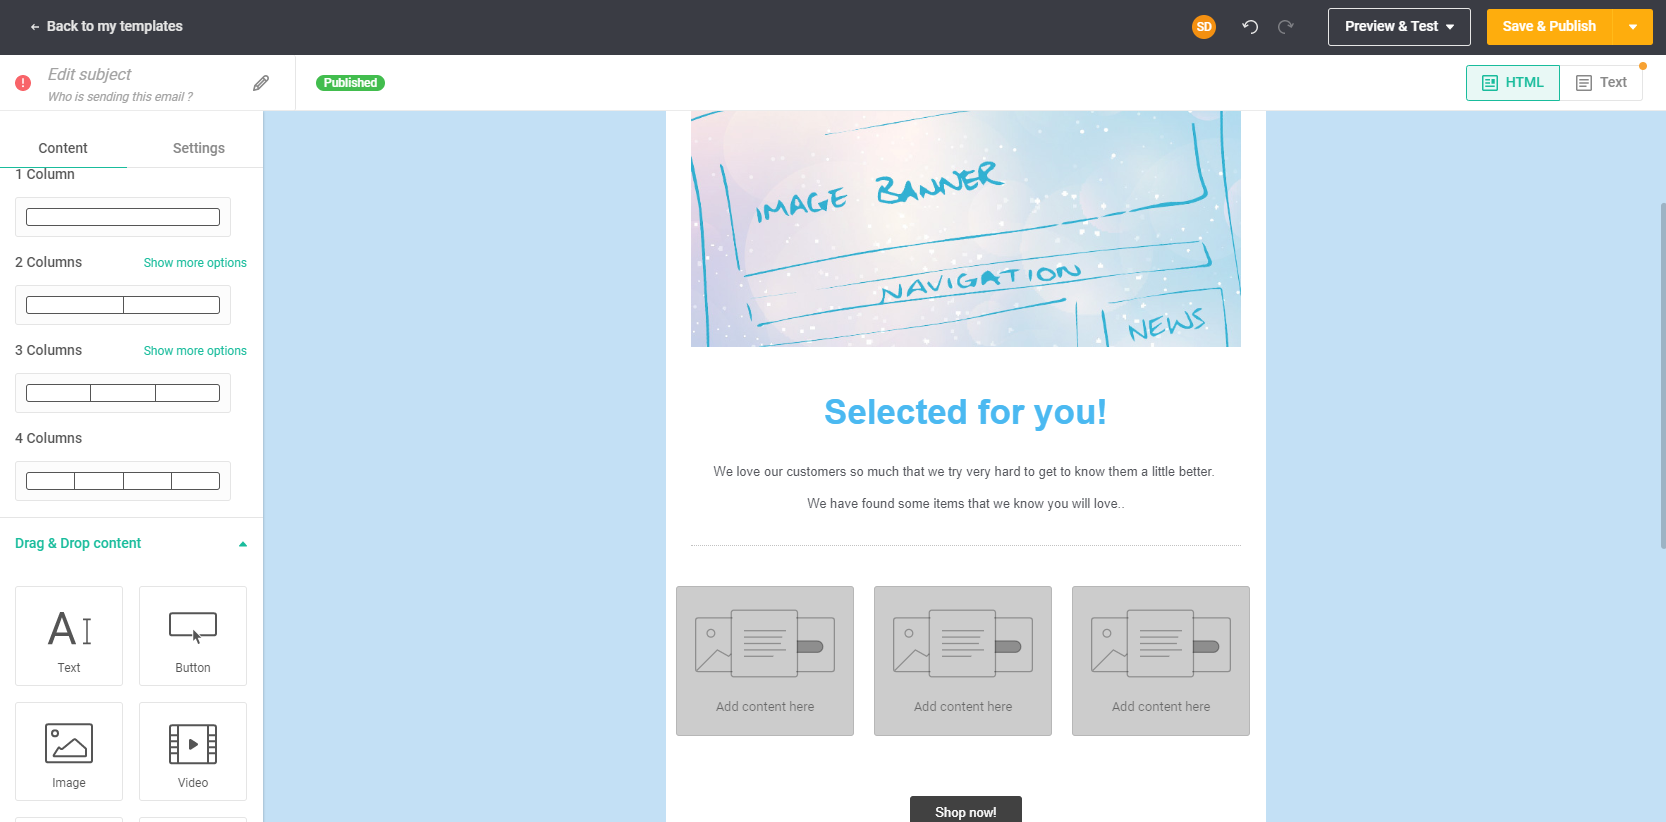
Within the template editor you can use drag and drop content to create something to your liking. When ready press 'Save & Publish to gallery' to save your template.
Using dynamic content in your email template
You can also use your Product Sets to insert Dynamic HTML Content into your email template. To do this, just add the below placeholder to your email body as an HTML object.
Placeholder: {{ var:personalization_html }}
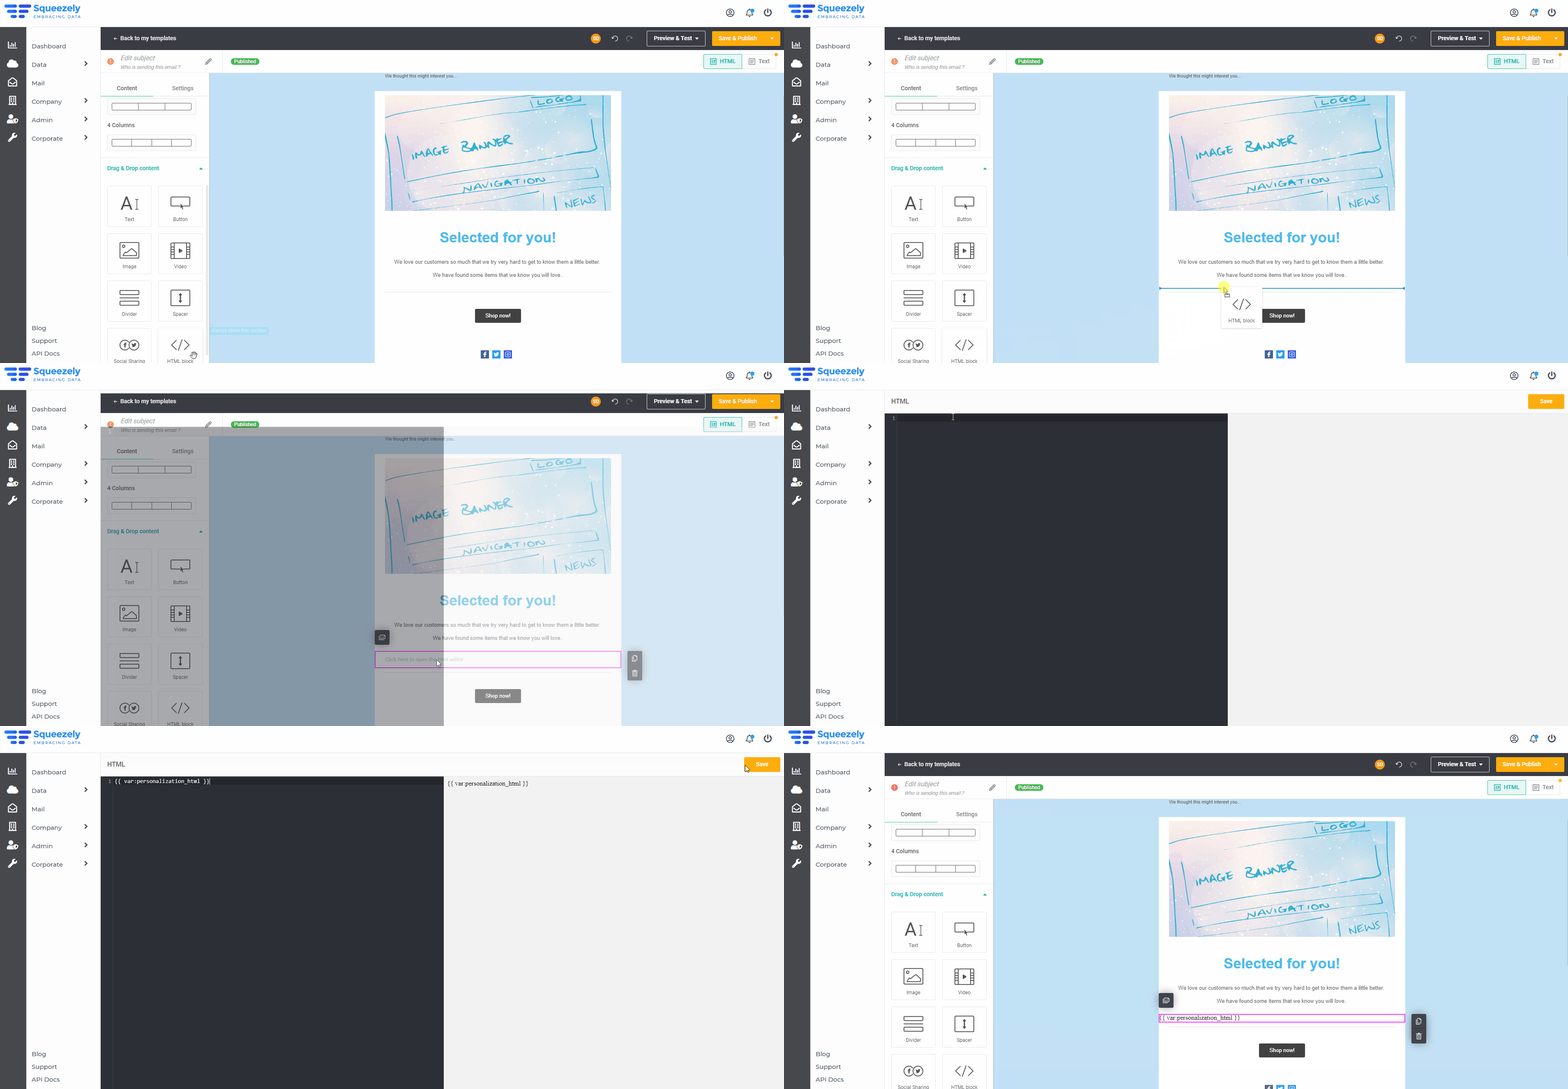
Follow below steps to prepare your template for dynamic content.
Drag the HTML block onto the canvas
Doubleclick to open.
Insert the HTML Placeholder {{ var:personalization_html }}
Save & Publish!
Your template is now ready to use for Dynamic content.
Creating content personalizations for your email template
Using Squeezely Personalization you are able to create your own dynamic HTML content in our editor. First you will need to create a product set, this will determine which product will be shown in your personalizations. Read more about Product Sets here.
Follow below steps to create a dynamic HTML template:
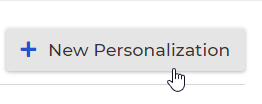
From Personalizations, create a new personalization.
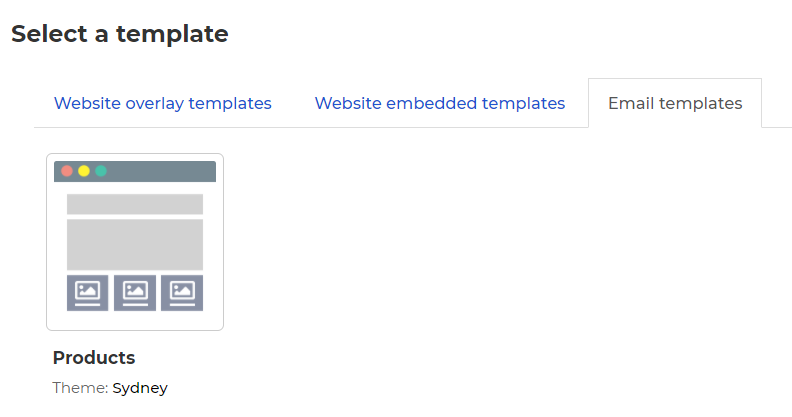
Choose type 'Email Templates'
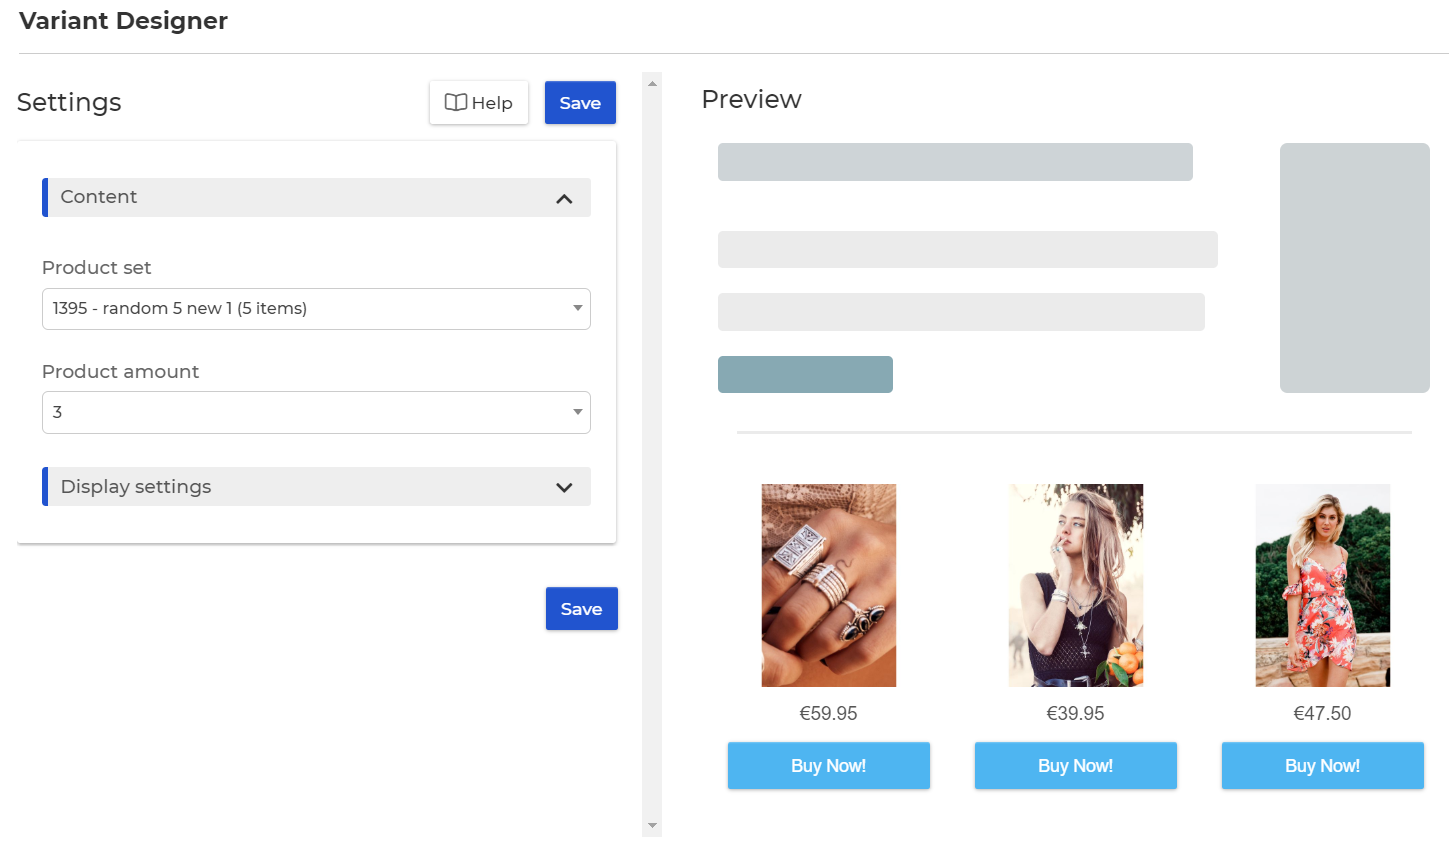
Select your Product Set & amount of products to show within you email template.
Save your Personalization.
Triggering your template from Journey Builder
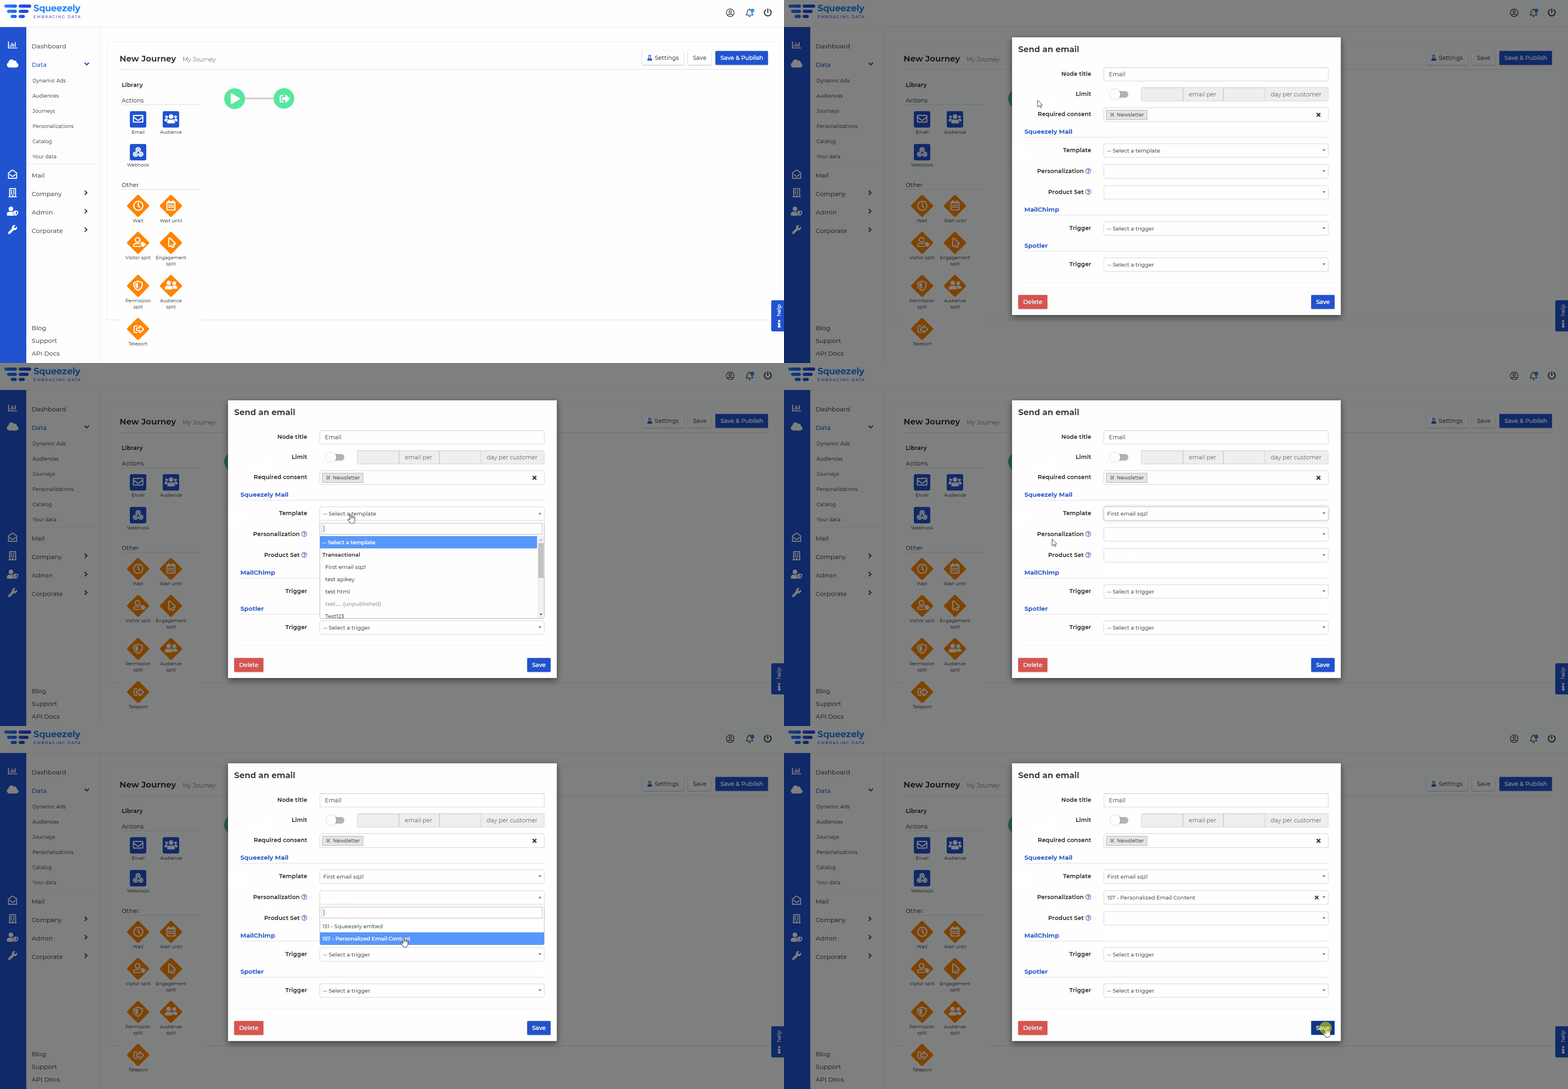
Use Squeezely Journey Builder to select your Mailjet template. Follow below steps to trigger a template using Dynamic Email Content.
Drag an 'Email action' on to the Journey Builder Canvas.
Select your transactional template from Mailjet.
Select your Email Personalization.
Publish your Journey!
Consent Management
When setting up Squeezely there are two options for managing user consent.
Simple Consent
Yes or No as a setting for all email marketing.
Multilevel Consent
A separate opt in setting for Marketing, Newsletter and Service messages.
Read more about consent settings here.
Within Mailjet you will find a separate list for each of your consent settings under 'Contacts > Contact Lists'.
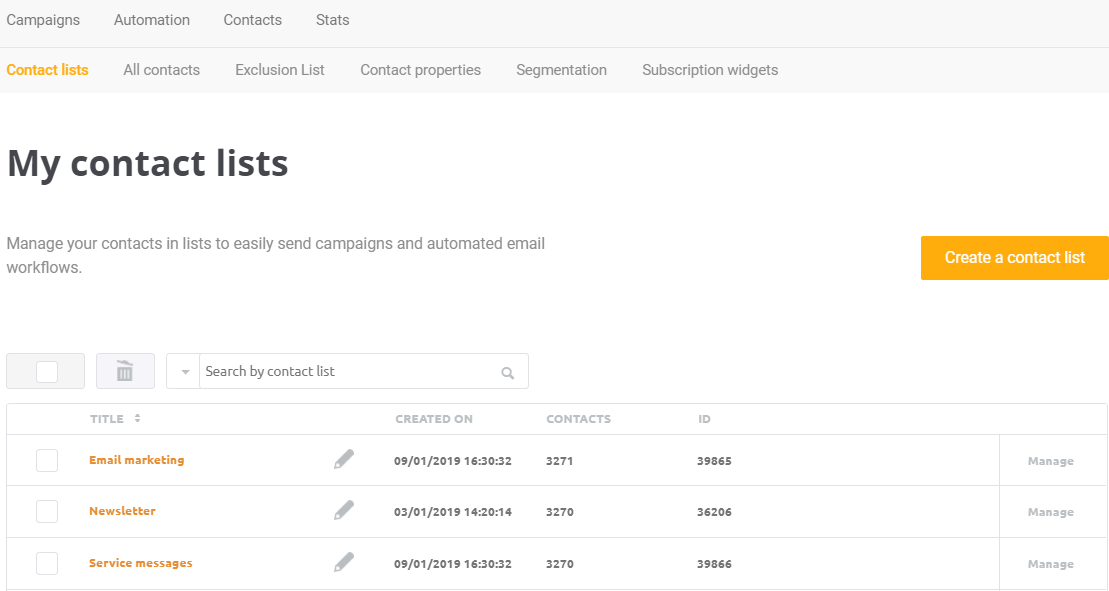
When you are sending a campaign from Mailjet, you can simply select the correct consent list to make sure your message arrives only to customers with the appropriate level of consent.